How To Integrate Unbounce & Google Tag Manager (GTM) In 2023
In the fiercely competitive marketing world, staying ahead of the competition means consistently tracking and optimizing your marketing efforts.
Two powerful tools that can help you achieve this are Unbounce and Google Tag Manager (GTM).
In this comprehensive guide, you’ll learn how to integrate Unbounce and GTM for seamless marketing operations. So, grab a cup of coffee, and let’s dive right in.
This post assumes you’re on the Classic builder, but the steps are similar for Unbounce’s new Smart Builder.
Table of Contents
Introduction to Unbounce and Google Tag Manager (GTM)
Unbounce is a popular landing page builder that allows marketers to create, publish, and optimize custom landing pages without requiring any coding knowledge. With its user-friendly interface and robust set of features, Unbounce helps businesses increase their conversion rates and generate more leads.
But what is Google Tag Manager?
GTM is a free tag management system that allows you to manage and deploy marketing tags on your website or app without having to modify the code. This makes it easier to add and update various tracking and analytics tools, such as Google Analytics, Google Ads, and other third-party tags.

Benefits of using Google Tag Manager with Unbounce
Integrating GTM with Unbounce offers several benefits that supercharge your marketing efforts. Here are some of the key advantages:
- Streamlined tag management: GTM makes it easy to manage all your tracking pixels and analytics tags in one place, helping you keep your website’s code clean and organized.
- Improved page load time: By using GTM’s asynchronous tag loading feature, you can ensure that your tags load quickly and don’t slow down your Unbounce landing pages.
- Increased marketing agility: With GTM, you can quickly add, update, or remove tags as your marketing needs change, without having to rely on developers.
- Advanced tracking capabilities: GTM allows you to set up advanced tracking configurations, such as scroll tracking, form submissions, and custom events, to help you better understand user behaviour on your Unbounce landing pages.
You may find it particularly useful to fire tags when a user completes an Unbounce form or reaches a “thank you” page:

For example, you could fire Facebook ads (Meta) pixel whenever a user submits their contact details – helping the ad network find similar users and allocate budgets.
How To Integrate Unbounce & Google Tag Manager
1) Grab your container ID from GTM
First, sign in with your Google account (or create a new one if you don’t have one already).
Then, create your new GTM account and container:
1.) Click on “Create Account” to set up a new GTM account.
2.) Fill in the “Account Name” and select your country.
3.) Provide a “Container Name” that represents the website or mobile app you want to track (eg. “mycoolsite.com”)
4.) Select the “Target Platform” for your container as “Web”
5.) Click on “Create” to finish setting up your container.
Nice – your container is now created!
You’ll now be redirected to the container’s dashboard, with the code as an overlay.
Close the overlay, and then find the GTM container ID at the top of the page, in the format “GTM-XXXXXX”.
Click on the container ID to copy it to your clipboard.
2) Integrate GTM with your Unbounce landing page
To add GTM to your Unbounce landing pages, follow these steps:
First, log in to your Unbounce account.
Then, follow these steps to integrate GTM with Unbounce:
1.) On the left-hand side menu, hit “Settings.”
2.) From the options that appear, choose “Script Manager.”
3.) In the top-right-hand corner, click the blue “Add a Script” button.
4.) Pick “Google Tag Manager” from the drop-down list and paste your container ID. A fresh window will pop up, featuring two sections: “Script Details” and “Script Usage.”
5.) In the “Script Usage” area, select the subdomain(s) you’d like to apply the Google Tag Manager integration to.
6.) Click “Save and Publish Script” to lock in your changes. The Script Manager will now place the GTM code on your chosen domain and landing pages!
Remember to hit “Publish” or “Republish” on your connected landing page(s) with the Google Tag Manager script for the modifications to go live.
Congratulations! You’ve successfully added GTM to your Unbounce landing page. Now let’s move on to configuring your GTM tags and triggers.
3) Create a custom GTM trigger to watch for form responses (optional)
Now GTM is added to our domain, we’re going to want to fire a tag when something happens – and most often, that’s when somebody fills out our Unbounce form!
You can skip this section if you don’t want to fire tags when a form is filled in.
Google Tag Manager comes with a “form submission” trigger out the box, but be aware that this will not fire on Unbounce form submission – so we will need to create a custom event trigger instead.
To set up the custom event trigger, follow the following steps:
1.) In Google Tag Manager, head to the “Triggers” tab on the left-hand side and click “New.”
2.) Craft a new trigger in GTM. Let’s call it “Unbounce form submission”.
3.) On the “Trigger Configuration” page, input the following details:
- For “Trigger Type,” choose “Custom Event”
- For “Event Name,” type in “gtm.formSubmit”
- Leave “Use regex matching” unchecked.
- For “This Trigger Fires On,” choose “All custom events”.
Hit “Save”.
Finally, you should return to your GTM container’s triggers and delete the existing “Form submission” trigger (assuming you’re not using it elsewhere).
Don’t forget to republish your GTM container!
4) Configure tags to fire on triggers
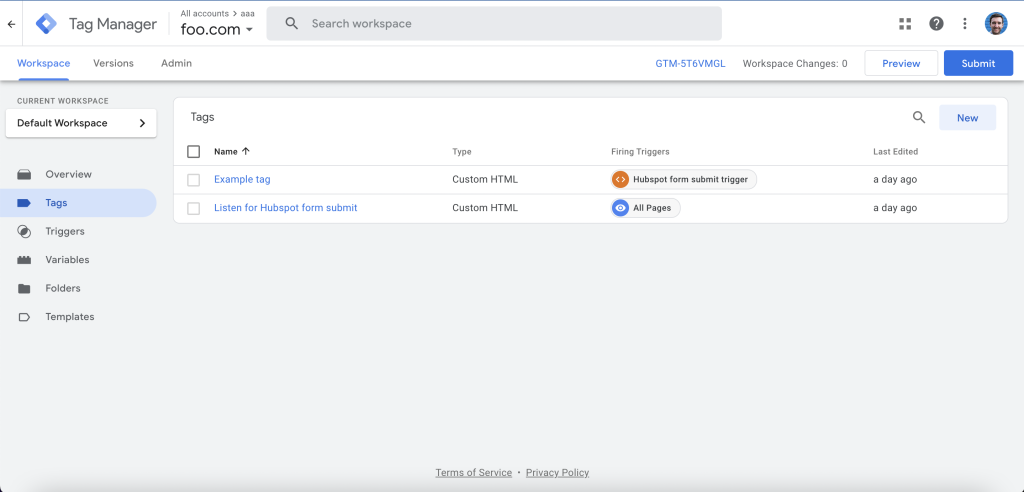
With GTM integrated into your Unbounce landing page, you can start adding and configuring tags and triggers. Here’s how:
- Create a new tag: In your GTM account, navigate to “Tags” > “New” and choose the type of tag you’d like to add (e.g., Google Analytics, Google Ads, etc.).
- Configure your tag: Enter the necessary information for your tag, such as your tracking ID, event settings, and any additional configurations. You’ll probably want to fire most tags on “All pages”, or on the form submission tag we created earlier.
- Test your tags and triggers: Before you publish your changes, use GTM’s “Preview” mode to test your tags and triggers on your Unbounce landing page. Make sure everything is working as expected before moving on.
- Publish your changes: Once you’re satisfied with your tag and trigger configurations, click on “Submit” > “Publish” to make your changes live.
Common issues and troubleshooting tips
As with any integration, you may encounter some issues when setting up GTM with Unbounce. Here are some common problems and tips on how to troubleshoot them:
- Form submissions firing twice: If you’re seeing duplicate form submissions, it’s probably because the trigger is firing both as a result of your custom tag and the default form submission trigger. To fix this, delete the form submission trigger that came out-the-box with GTM.
- Tags not firing: If your GTM tags aren’t firing as expected, double-check your tag and trigger configurations, and make sure you’ve added the GTM container code correctly to your Unbounce landing page.
- Inaccurate conversion tracking: If your conversion tracking data seems off, make sure your conversion tracking tags and triggers are set up correctly, and the necessary conversion data is being passed to your tracking tools. Be aware that tracking is likely to never be perfect, and that some events will may be lost due to ad blockers or network connectivity problems.
Introducing Growform: A better way to build forms (with Google Tag Manager) on Unbounce
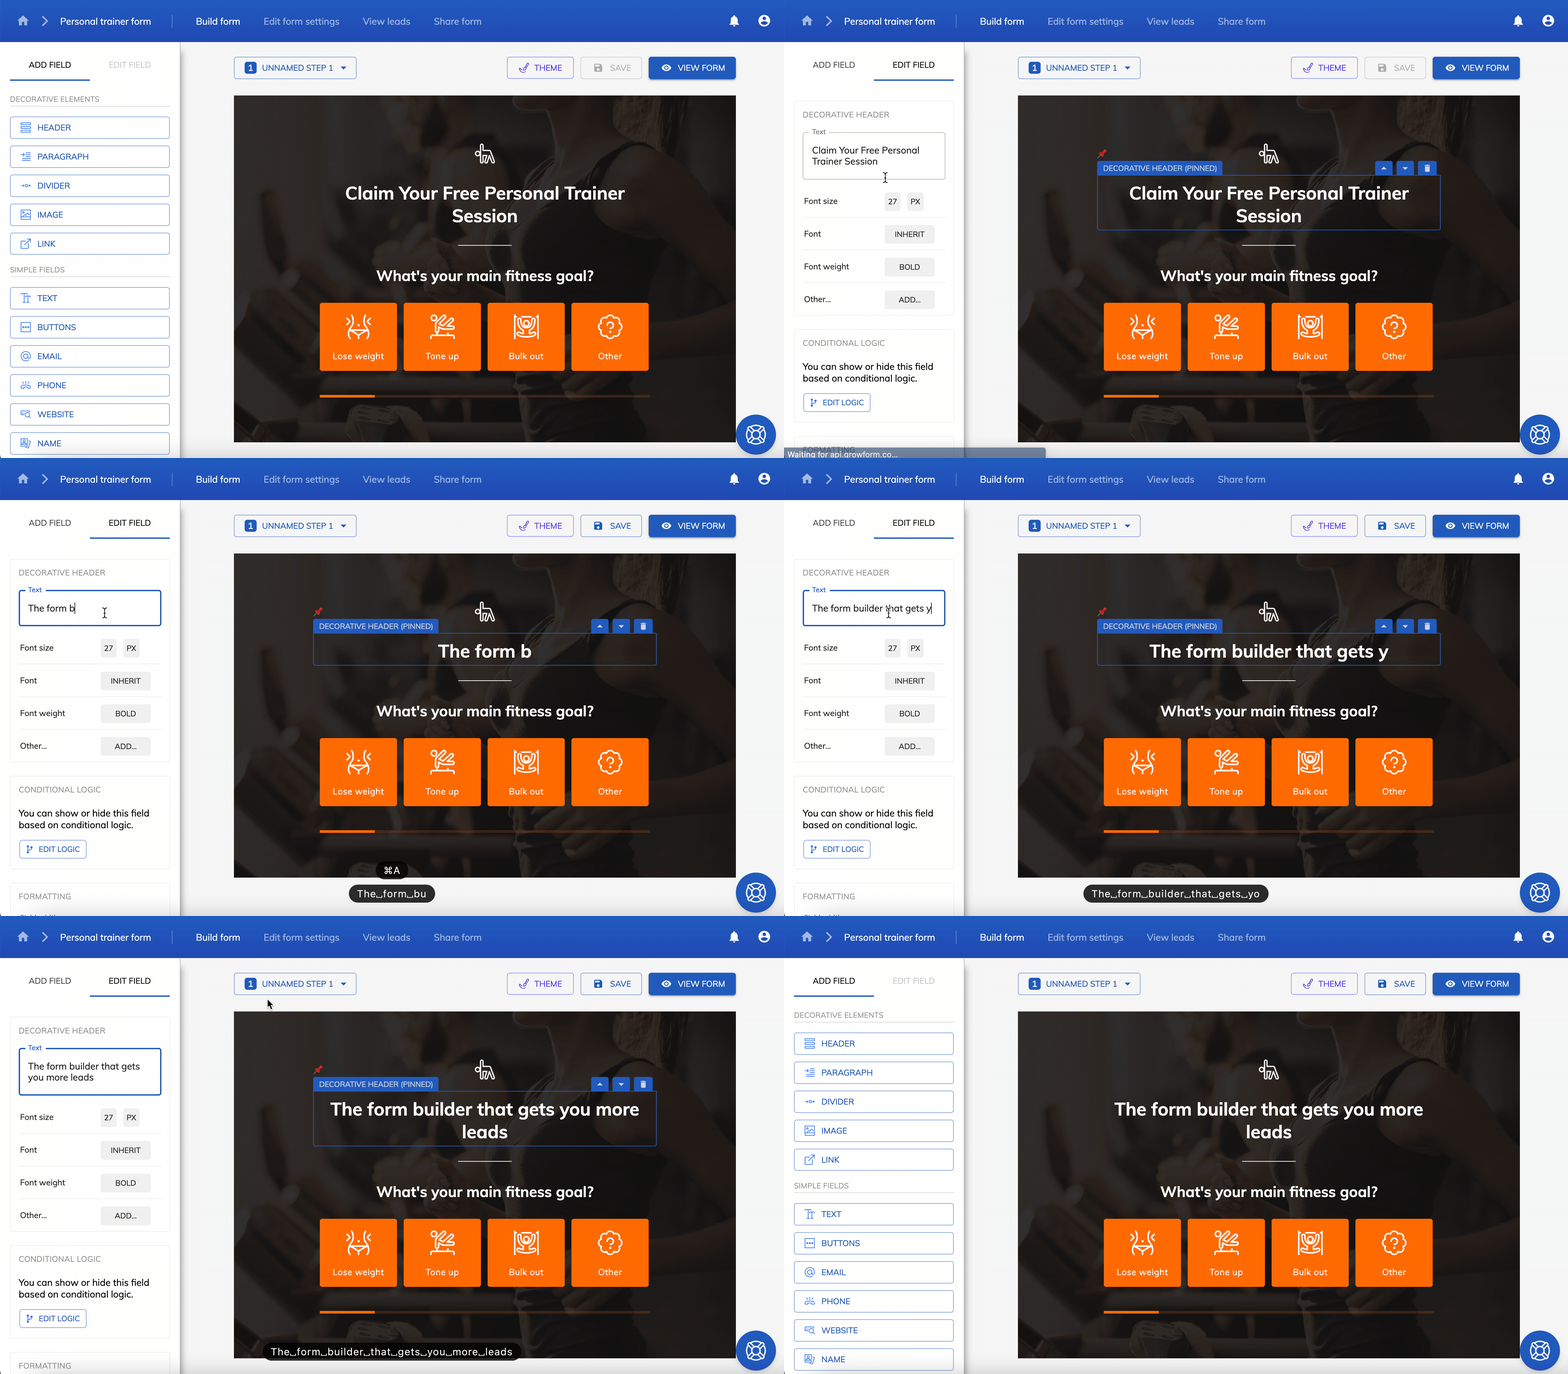
If you’ve ever wanted to push your form-building game further than Unbounce’s out-the-box offering, you should definitely consider Growform:

Growform makes it easy to build beautiful multi-step forms, and it comes with one-click conversion tracking with Google, Facebook/Meta and major ad networks.
With its Google Tag Manager integration, you can easily fire any tag at any point during your form – sign up for your free 14 day trial.
Recent Posts
- 6 Essential Mobile Form Design Best Practices for Higher Conversions
- We Review the Best B2B Lead Generation Tools to Supercharge Your Campaigns
- Typeform Pricing: Uncover Hidden Costs & a Better Alternative
- How to Optimize B2B Lead Scoring for Faster Sales Closures
- Here Are the Best Google Forms Alternatives for More Efficient Data Collection
