
How To Integrate Growform With ‘000s Of Destinations (Including HubSpot) Via Zapier
 Harvey Carpenter Updated 2 min read
 Growform comes out the box with email notifications, but there’s much more you can do thanks to our integration partner, Zapier.
Zapier is an integrations platform that makes it easy to hook services together (like Growform and HubSpot, for example).
1 – Create your form
We’ll assume you’ve already created a form in Growform and embedded it in your website. If not, head over to the getting started guide before you go much further here.
2 – Sign up or sign in to Zapier
If you don’t already have a Zapier account, go ahead and create a Zapier account (it’s free):
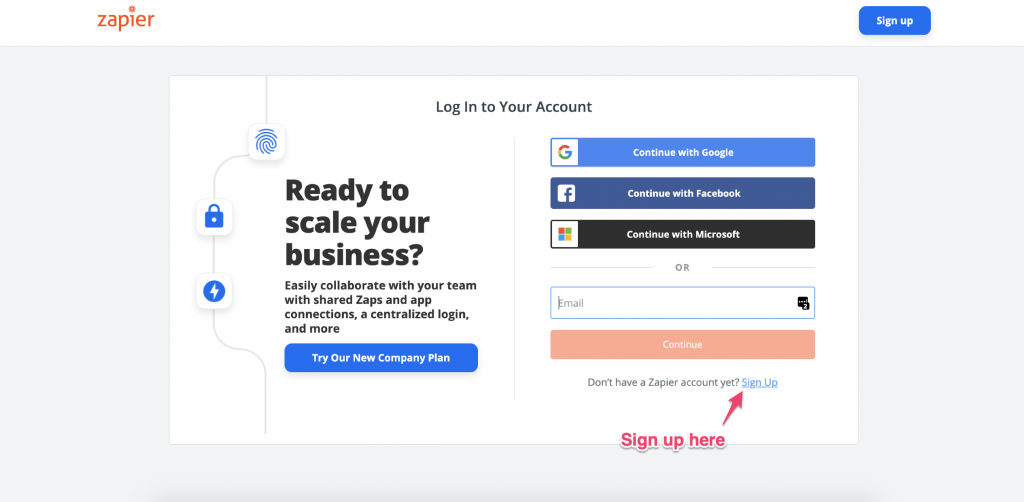
If you do have a Zapier account, sign in.
3 – Make a new Zap
Hit “Make a Zap” or “Make a new Zap” on Zapier:
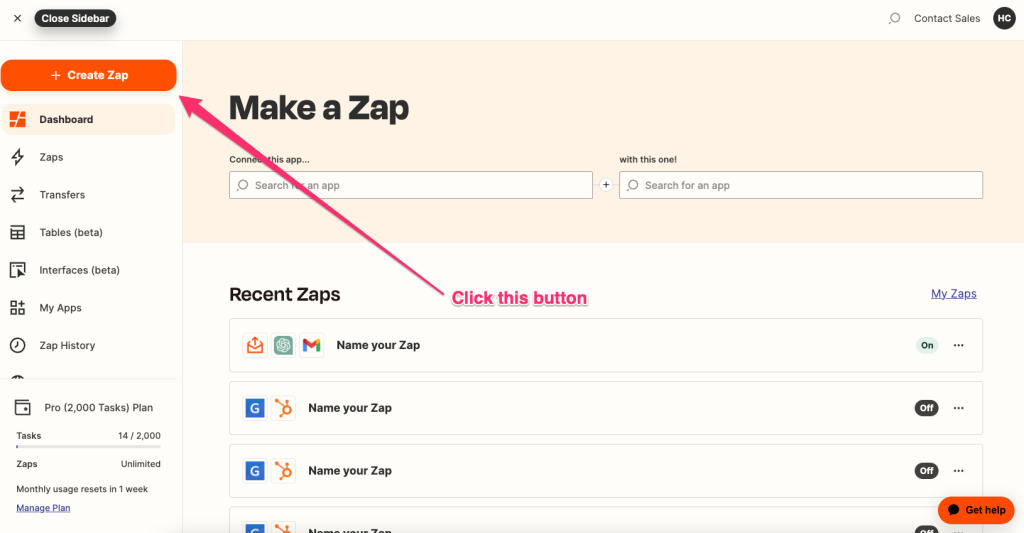
4 – Choose Growform as the trigger
Now, search “Growform” and click the latest Growform integration:
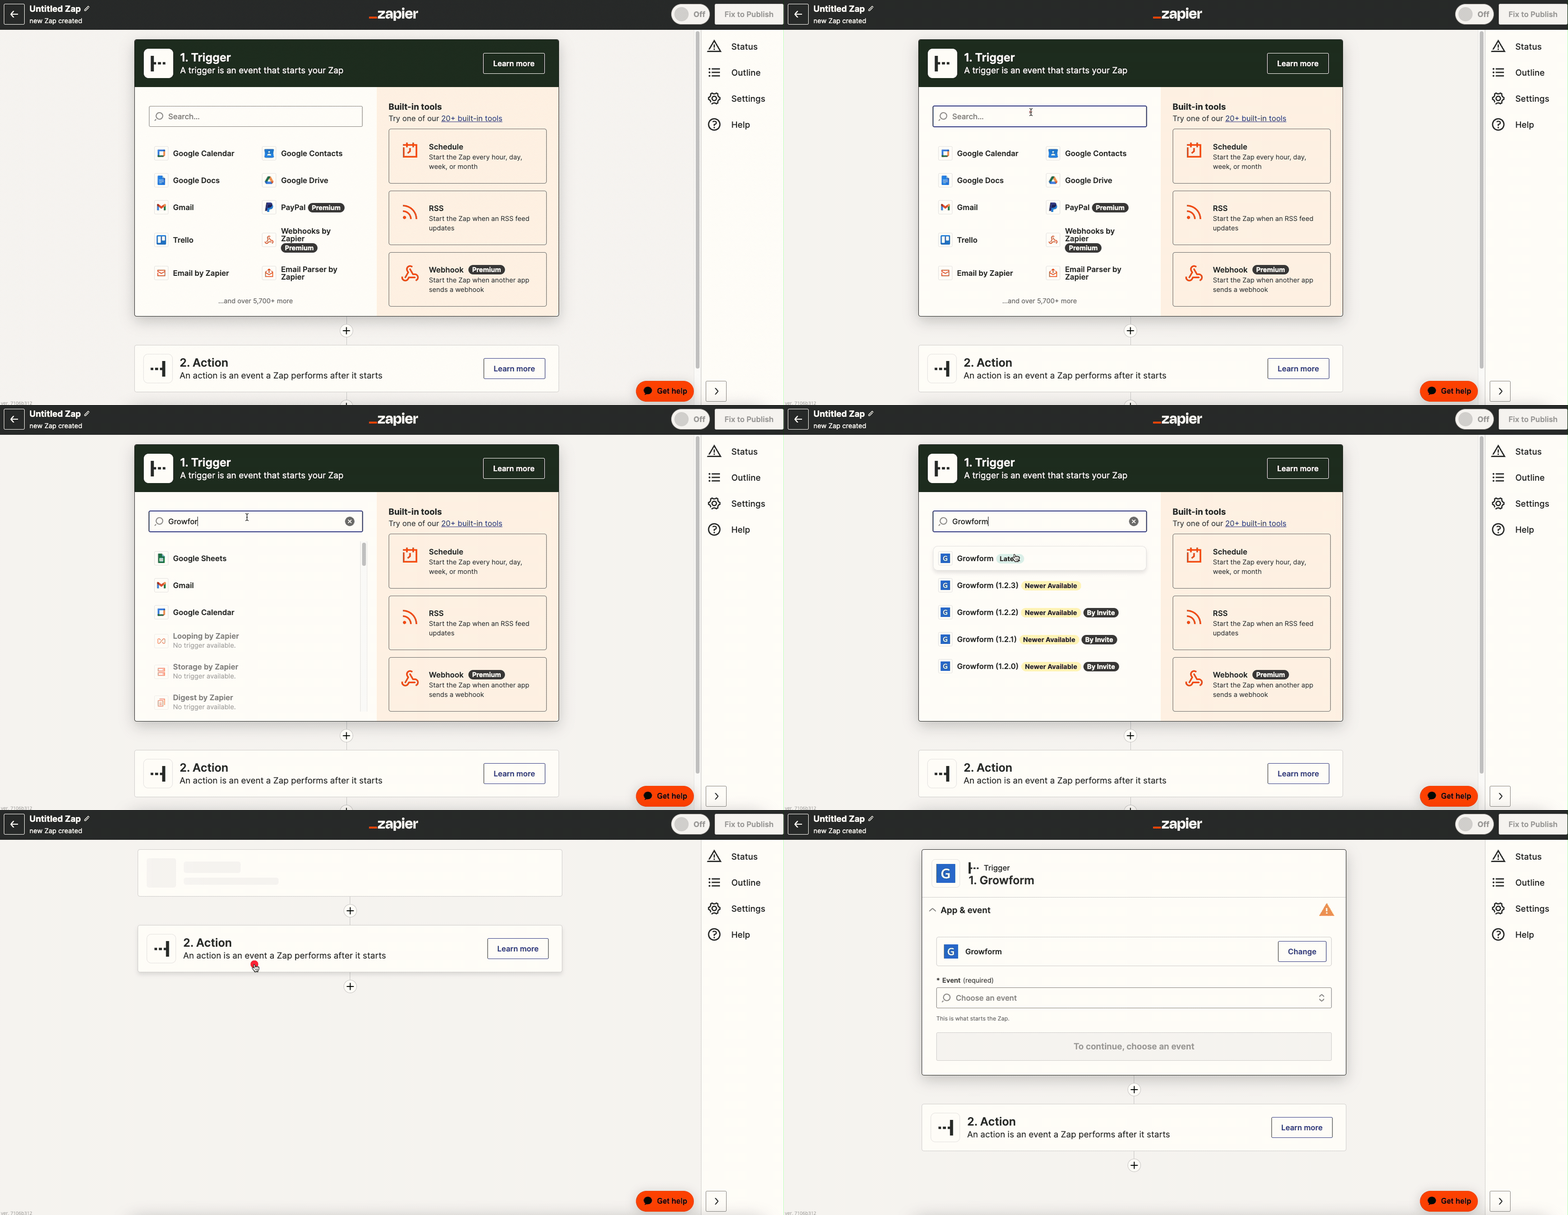
5 – Link your Growform account to Zapier
Hit “Sign into Growform” on this. You can find your API key in your Growform account.
Continue through the steps and choose the form you want to act as the trigger:
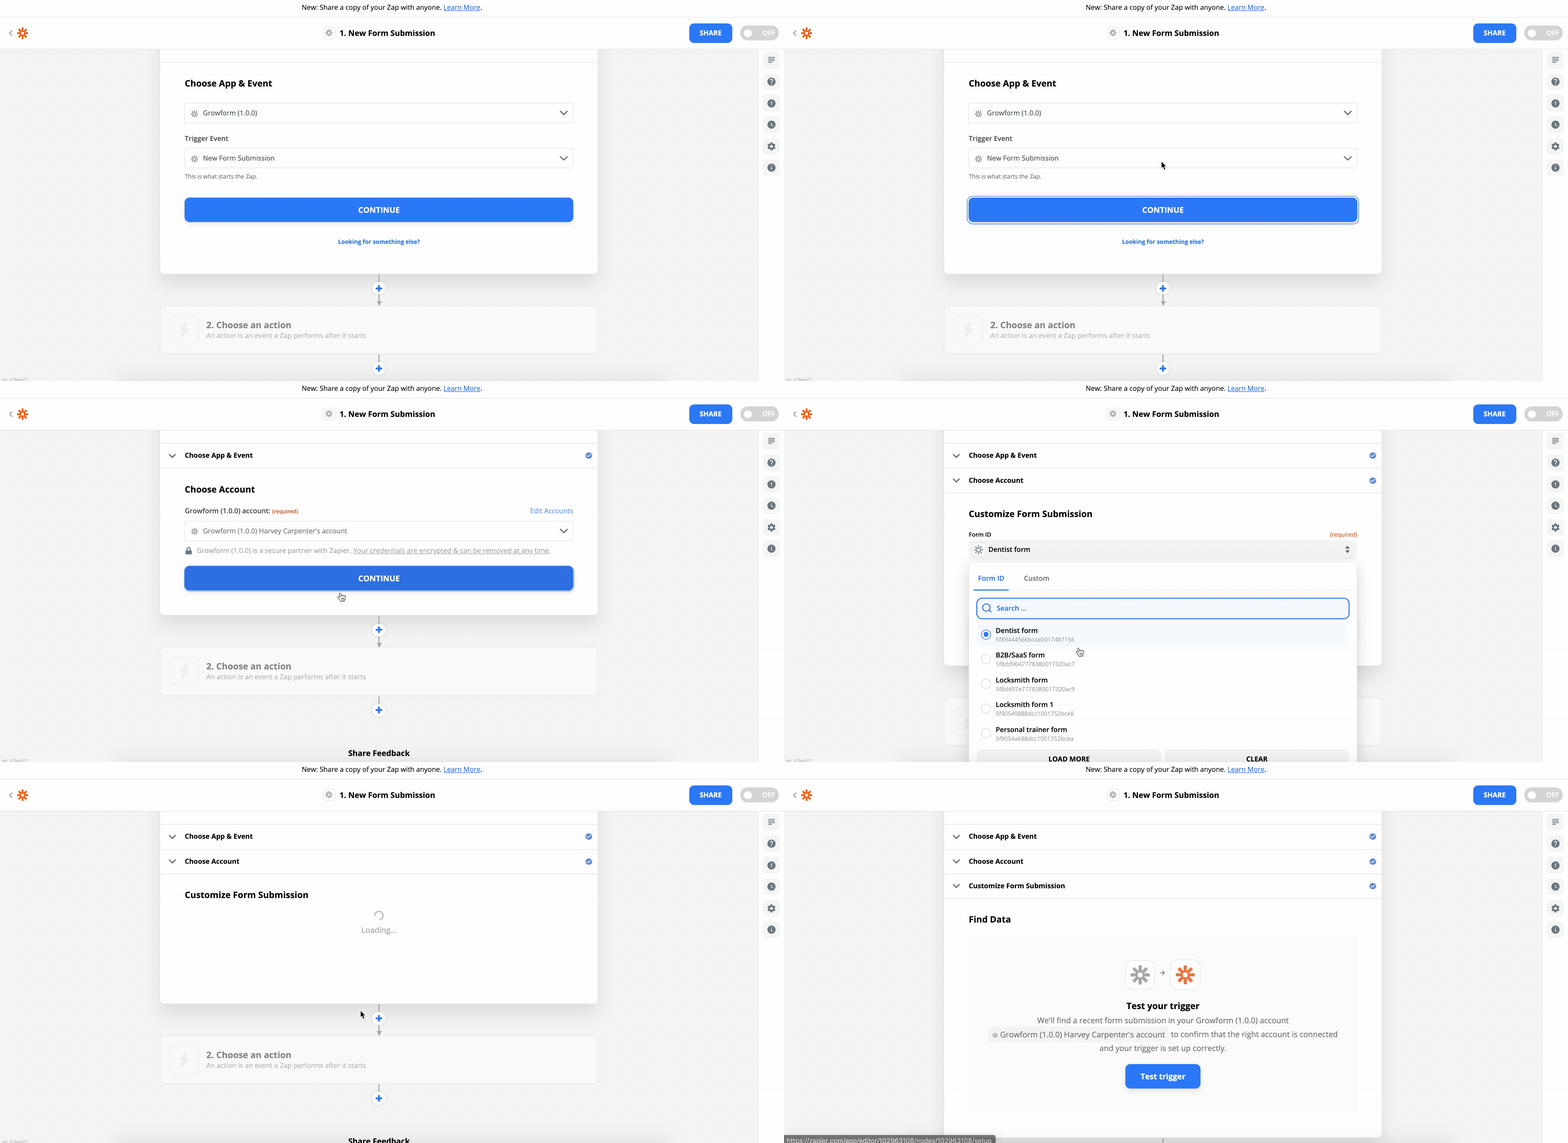
6 – Make sure you have data in your form
At this point, Zapier will ask Growform if there are any entries to display.
If your form doesn’t have any leads yet, we recommend submitting a test lead (you can do this by navigating to your form in Growform and hitting “Preview form”.
Once you’ve submitted a test lead, hit “Test trigger”in Zapier and you’ll see your most recent lead details appear:

7 – Choose an “action”
Now, choose an action to happen when you receive a Growform submission.
If you wanted to send an SMS once somebody submits a Growform lead, you’d search “SMS”:
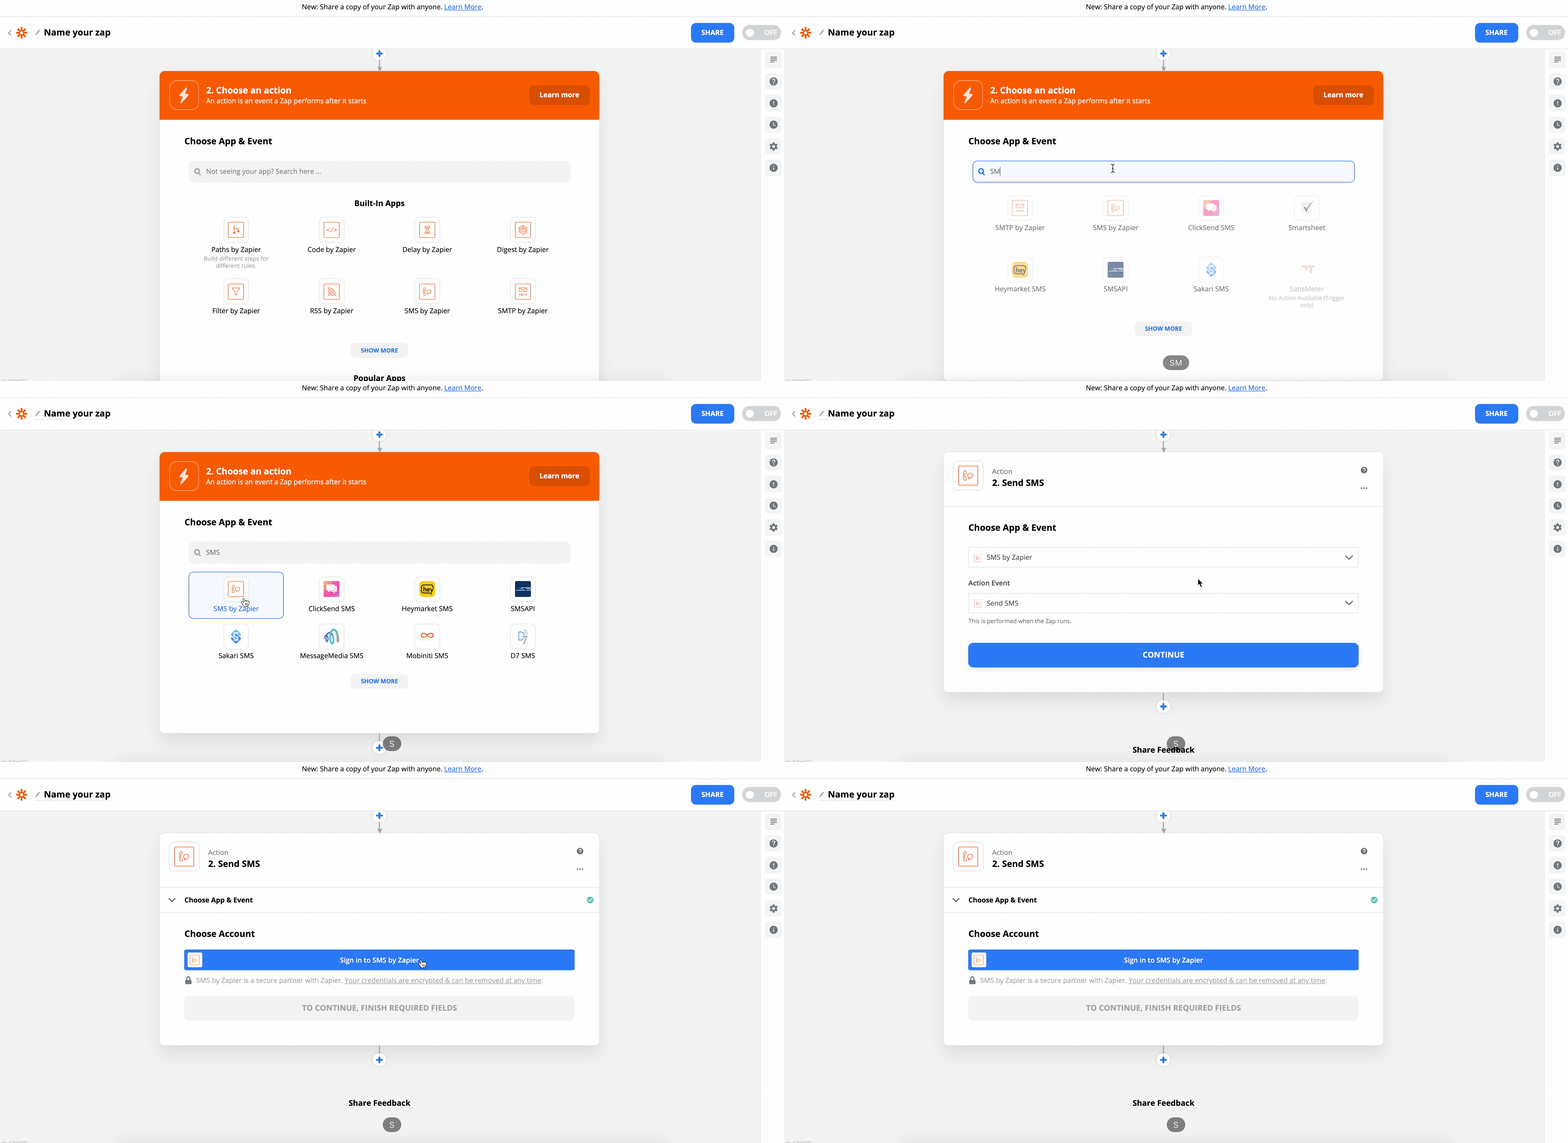
To find the HubSpot action, just search “HubSpot” instead.
8 – Follow the steps and map your fields
Follow the on-screen instructions on Zapier and be sure to set your Zap to “on” when you’re done.
Although the process from here should be fairly self-explanatory, you can search for more specific help related to Zapier’s HubSpot action on the Zapier help center or Google.
Congratulations – you’ve set up your first Zapier action based on a Growform trigger!
Related articles

Growform Mass Tort Intake Forms for Better Screening
Growform helps mass tort marketers and intake teams turn paid traffic into better-screened claimant leads.
September 16, 2026

Growform Med Spa Forms for Better Patient Screening
If you run paid traffic for a med spa, the form on your landing page does more than collect a name and phone number.
September 15, 2026

Growform Debt Relief Forms for Qualified Lead Intake
Debt relief lead forms have to do more than convert.
September 14, 2026