How To Add A Meta (Facebook) Pixel To Unbounce: A Step-by-Step Guide
The Meta Pixel (previously known as “Facebook pixel”) is a snippet of code that lets you track and measure the effectiveness of your advertising efforts on Facebook and Instagram.
By adding the pixel to your website or landing pages, you can track conversions, optimize your ad campaigns, and build custom audiences for your ads. Unbounce, of course, lets you create, publish, and test high-converting landing pages without the need for any coding or technical skills.
Combining the power of the Meta Pixel with Unbounce can help you create more effective advertising campaigns, track conversions, and win ultimately more customers:
In this article, you’ll learn about the importance of using the Meta Pixel for conversion tracking, the pre-requisites for adding the Meta Pixel to Unbounce, and a step-by-step guide to integrating the two. Additionally, you’ll discover how to test, troubleshoot, and optimize your pixel setup.
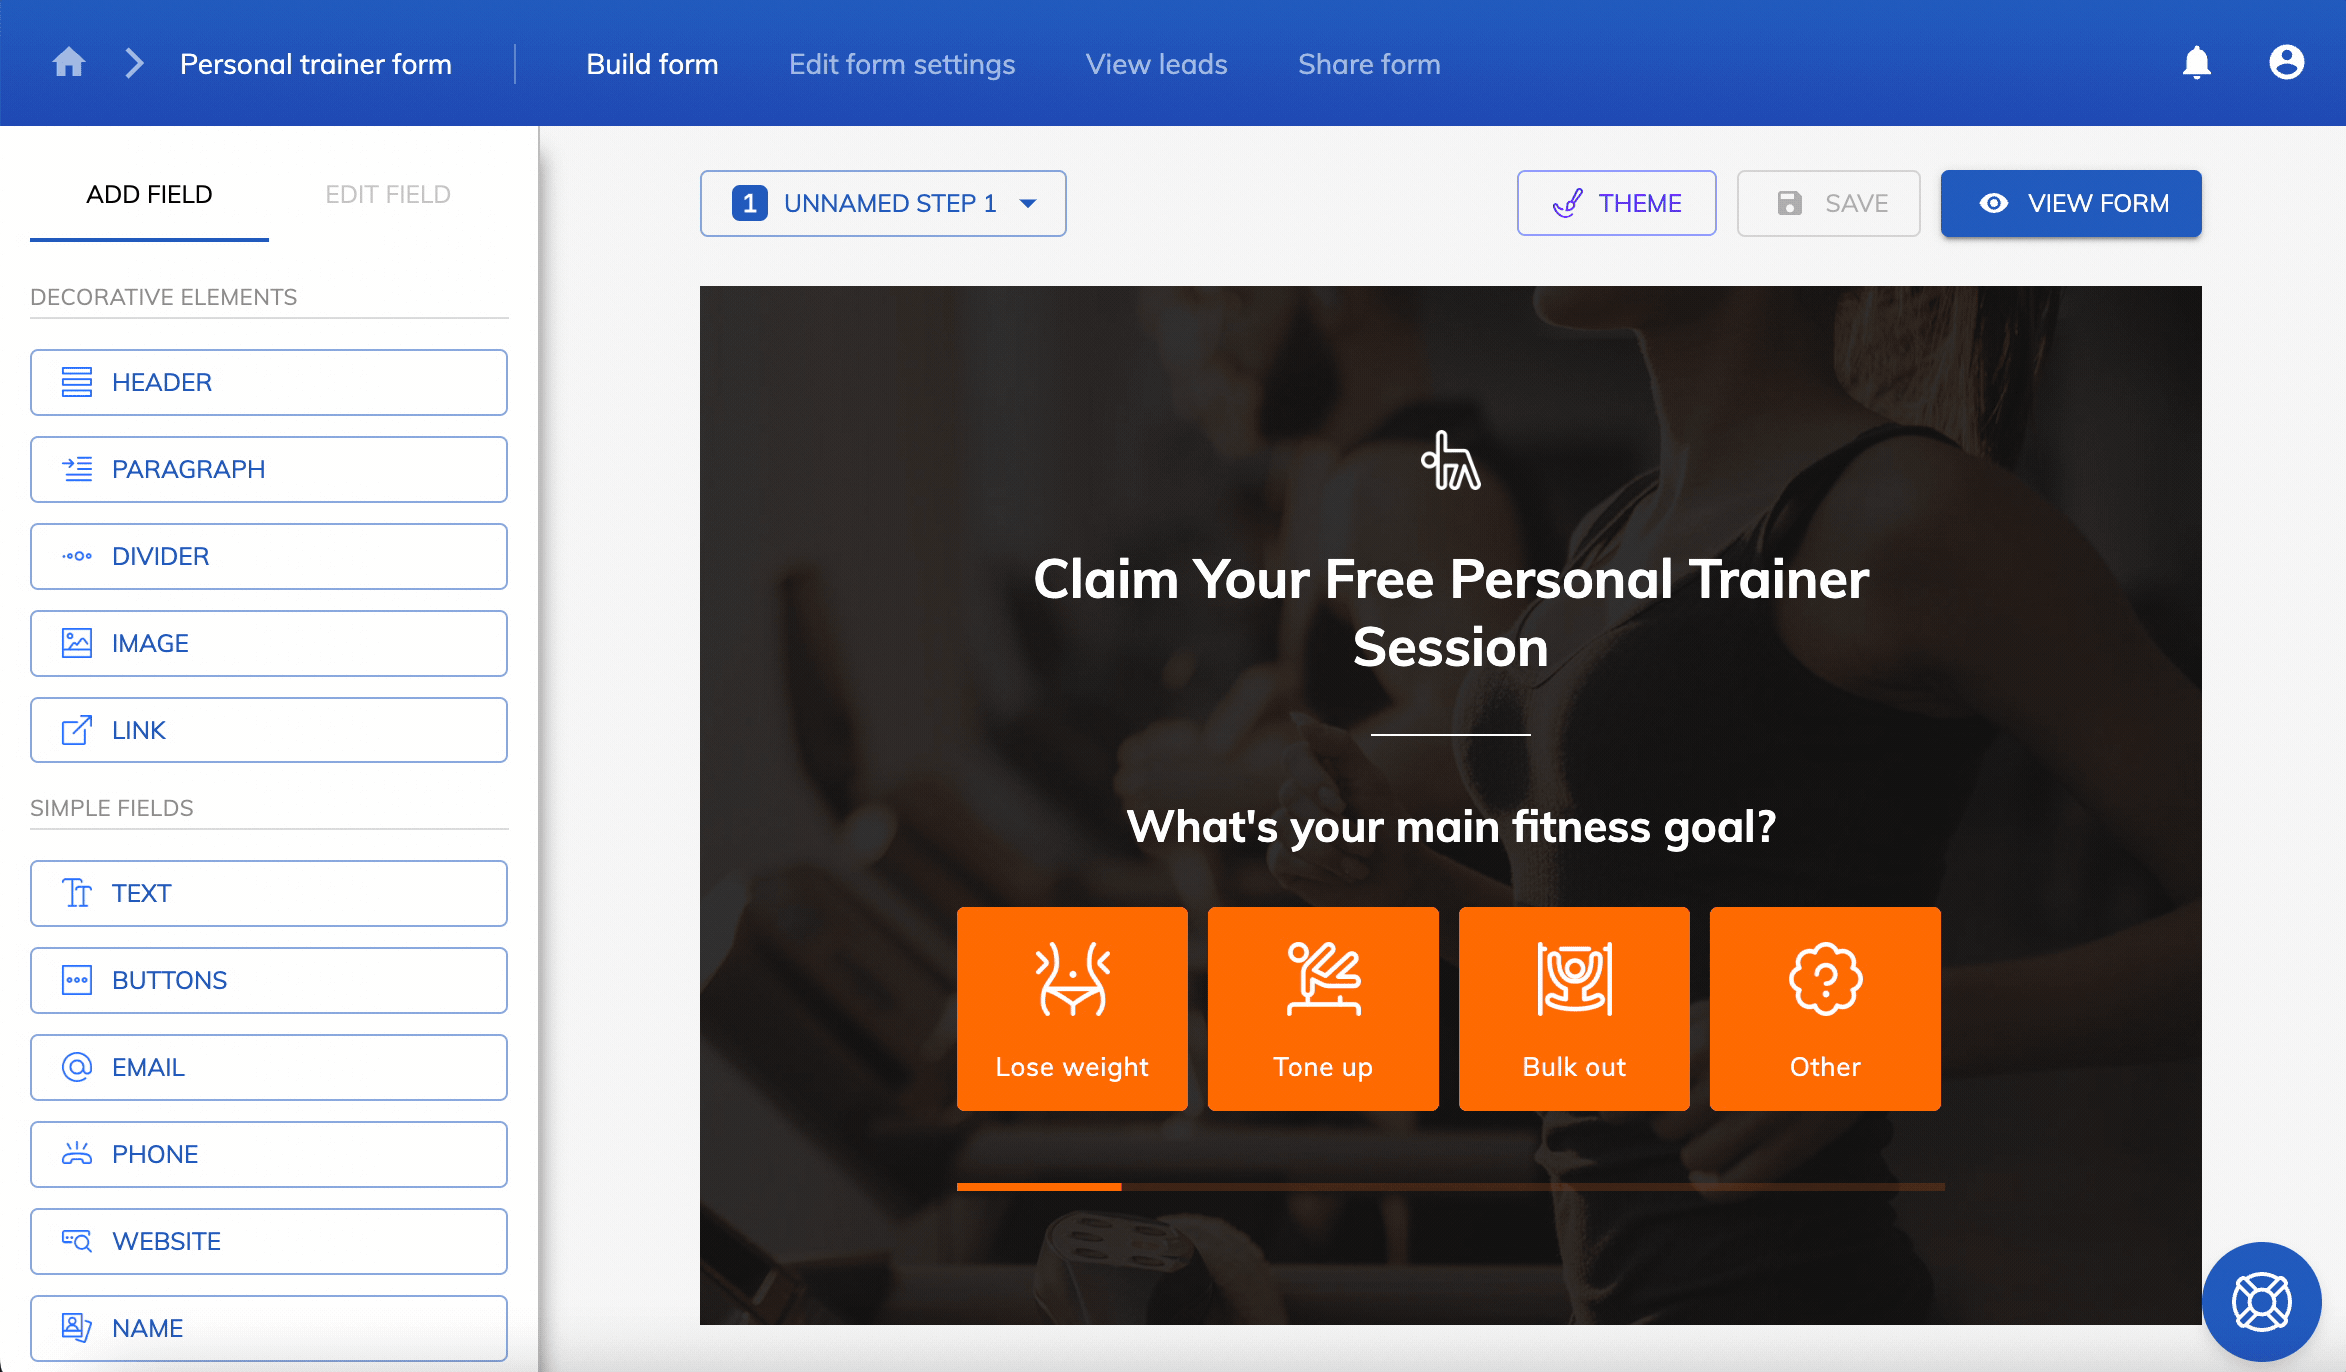
This guide assumes you’re using the Classic builder.
Table of Contents
Importance of using the pixel for conversion tracking
If you’re spending any amount of money on Meta ads, adding the pixel to your Unbounce landing pages is crucial.
Firstly, it enables you to track and measure the performance of your Facebook ad campaigns accurately. By monitoring the actions users take on your landing pages, you can determine which ads are driving the highest number of conversions and optimize your budget accordingly.
Secondly, the pixel helps you create custom audiences based on user behavior. For example, you can target people who have visited specific pages on your site, completed a form, or made a purchase. This allows you to create highly targeted and personalized ad campaigns, which can lead to improved click-through rates and conversion rates.
The Meta Pixel can help you optimize your campaigns for specific conversion events. By setting up custom conversions, you can automatically track specific actions on your landing pages and improve your ad targeting and bidding strategies.
Pre-requisites for adding Facebook Lead Pixel to Unbounce
Before you can add the Meta pixel to your Unbounce landing pages, you’ll need to ensure that you have the following:
- A Meta Ads account: You’ll need to have an active Meta Ads account to create and manage your pixel.
- An Unbounce account: To add the pixel to your Unbounce landing pages, you’ll need to have an active Unbounce account.
Step-by-step guide to add the Facebook Pixel To Unbounce
1) Add the base code to your landing page
Follow these steps to add the Facebook Pixel to your Unbounce landing pages:
- Create and copy your pixel code: Log in to your Meta Ads account, navigate to the “Events Manager” tab, and select “Pixels:
Click “Create a Pixel,” follow the prompts, and copy the generated pixel code. In case Meta change this (again!), learn how to do this here and search “Manually add pixel code to website”
Log in to your Unbounce account: Access your Unbounce account and navigate to the landing page where you want to add the Facebook Pixel.
Add the Facebook Pixel code to your Unbounce landing page: Click the “Javascripts” at the bottom of the page and paste your Facebook Pixel code into the large box, and set the “Placement” to “Head.” Save and publish your changes.
If you want to add the pixel code to multiple landing pages, you can also use Unbounce’s script manager to apply the base pixel code to every page on the domain.
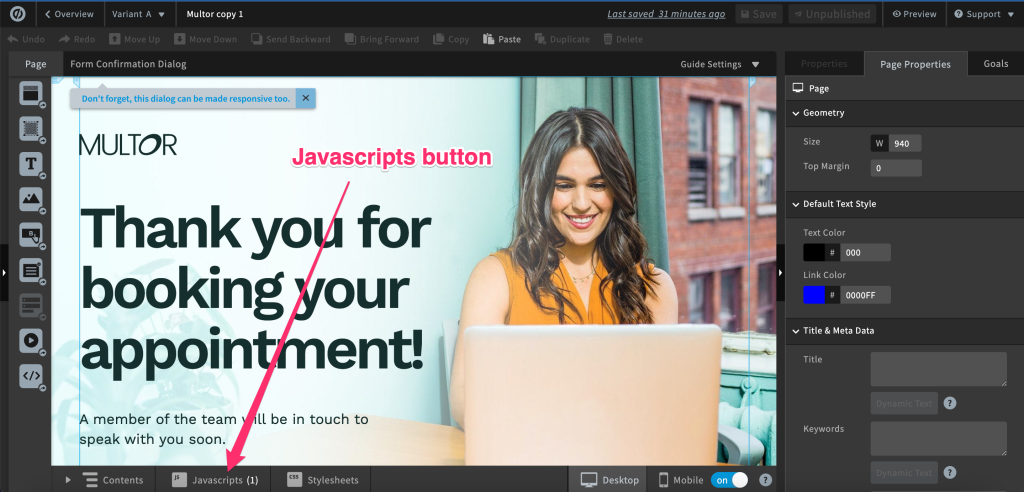
2) Firing custom events in the form confirmation dialog
You’ll either want to fire your pixel when a user reaches a particular page (eg. an Unbounce “thank you” page that you have already built), or when a confirmation dialog is shown.
Fortunately, the setup for firing the Facebook pixel is the same in either case – just navigate to the form confirmation dialog or Unbounce page you’d like to fire the pixel on.
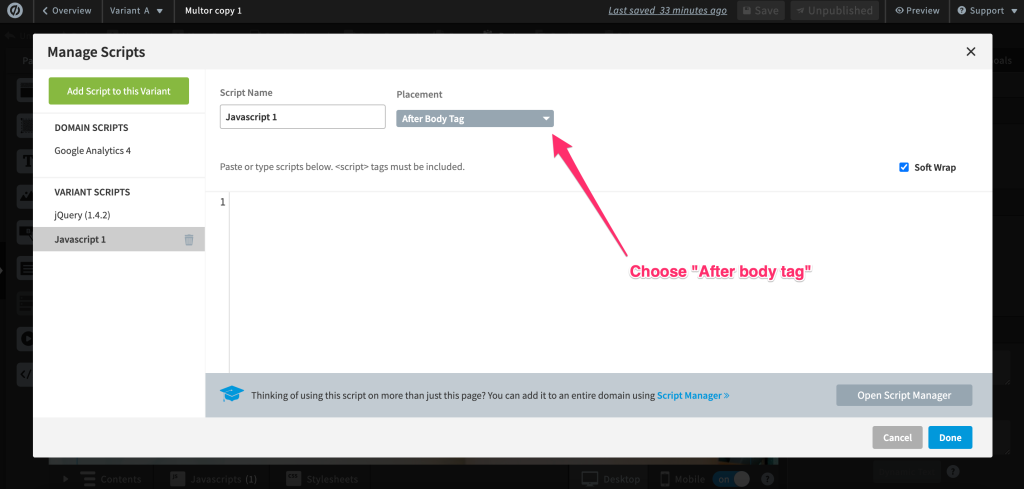
Then, click “Javascripts” at the bottom of the builder and paste your code in:
Set the placement to “After body tag”:
Now, find the line that includes fbq(‘track’, Pageview).
This line tells Meta to track a simple pageview. However, we don’t want to track a pageview – we wish to track a custom event.
You should therefore delete this line, and instead enter:
fbq(‘track’, Lead);
This will track a standard “Lead” event, but you can also choose to track any of the Facebook standard events (https://developers.facebook.com/docs/meta-pixel/reference)
Alternatively, you may instead track a custom event. To do this, you’ll need to create your custom event in Facebook, and take note of it.
In this example, we’re tracking a custom event called “completeForm”:
fbq('trackCustom', 'completeForm');
Testing and verifying the Facebook Lead Pixel integration
After adding the Facebook Pixel to your Unbounce landing page, it’s essential to test and verify that the pixel is functioning correctly:
- Use Facebook’s Pixel Helper: Install the Facebook Pixel Helper browser extension, which will help you identify and troubleshoot any issues with your pixel implementation. Visit your Unbounce landing page and check for any errors or warnings in the Pixel Helper.
- Check the Facebook Pixel status in the Events Manager: In your Facebook Ads account, navigate to the Events Manager and locate your pixel. You should see a green dot next to the pixel’s name, indicating that it’s active and receiving data from your landing page.
- Test conversion events: If you’ve set up custom events, submit a test conversion on your landing page (e.g., complete a form or click a button) and verify that the event is tracked correctly in the Events Manager.
Troubleshooting common issues with the Unbounce Facebook Pixel setup
If you encounter issues with your Unbounce Facebook Pixel setup, consider these common problems and their solutions:
- Missing or incorrect base pixel code: Ensure that you’ve copied the correct pixel code from your Facebook Ads account and pasted it into the Unbounce script editor.
- Pixel not firing: Double-check that the pixel code is placed correctly in the “Head” section of your Unbounce landing page.
- Duplicate pixel events: If you see duplicate events in your Facebook Events Manager, ensure that you haven’t accidentally added the pixel code multiple times on your landing page.
Best practices for using Facebook Pixel on your Unbounce landing page
To make the most of your Unbounce Facebook Pixel, follow these best practices:
- Use a consistent naming convention for your custom events: This will make it easier to identify and analyze the events in your Facebook Events Manager.
- Test your pixel setup regularly: Regular testing will help you identify and fix any issues quickly, ensuring that you’re always collecting accurate conversion data.
- Monitor your pixel performance: Keep an eye on your Facebook Pixel’s performance in the Events Manager, and address any errors or warnings as soon as they arise.
Leveraging Facebook Lead Pixel data for optimizing campaigns
With the Facebook Lead Pixel data, you can optimize your ad campaigns by:
- Identifying high-performing ads: Analyze the conversion data to determine which ads are driving the most conversions and adjust your ad spend accordingly.
- Creating custom audiences: Use the pixel data to build custom audiences for your ads, allowing you to target users based on their behavior on your landing pages.
- Optimizing for specific conversion events: Set up custom conversions to track specific actions on your landing pages and optimize your ad targeting and bidding strategies accordingly.
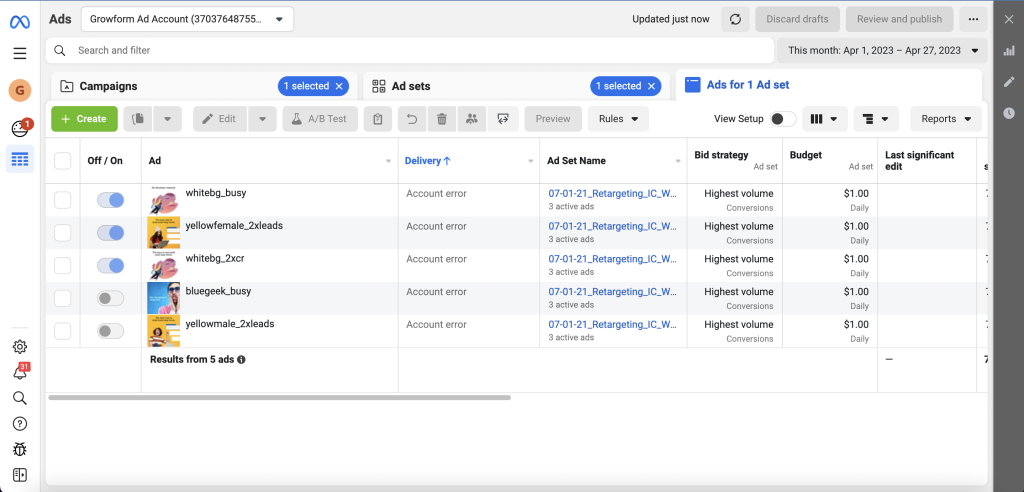
Introducing a better way to fire Facebook pixels with multi-step forms
While firing pixels on Unbounce forms is a great start, using a form builder like Growform can make firing Facebook pixels even easier:
Growform makes it simple to create beautiful multi-step forms that get more leads, and the forms even come with one-click integrations to Facebook, Google and other ad networks.
And of course, it works beautifully with Unbounce.
There’s even a 14 day free trial, so you can get started now.