How To Set Up Google Tag Manager
Google Tag Manager is a powerful, highly recommended, 100% free “tag manager”.
It lets you fire tracking code under certain conditions and is very customisable. Here are the basic terms to learn:
- “Tag”: A block of code or script that fires. A tag is usually pasted in from a third party and starts with “<script>”. GTM also includes easily customisable tags that can be configured without code!
- “Trigger”: A trigger is “When to fire” a tag. For example, it could be on every page load, or only on certain page loads or events.
- “Container”: Everything inside GTM (including tags, triggers and more) sit inside a container.
With that taken care of, let’s set up our Google Tag Manager account…
1 – Go to Google Tag Manager and create an account
First, log in to Google Tag Manager and choose an account to sign in with. If you don’t have a Google account already, you’ll need one.
Once you’re signed into Google Tag Manager, you’ll need to create a Google Tag Manager account, within the GTM interface.
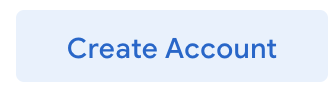
Hit “Create account” onscreen:
When creating a GTM account, you’ll be prompted to name the account and create your first container.
You should choose “Web” as the target platform.
We recommend choosing a container name along the lines of “[Your company] – Growform”. This will let you keep all of your Growform tags and triggers in one place.
Once you’ve chosen an account name and container name, hit “Create” and agree to Google’s terms and conditions.
2 – Copy the Google Tag Manager code into Growform
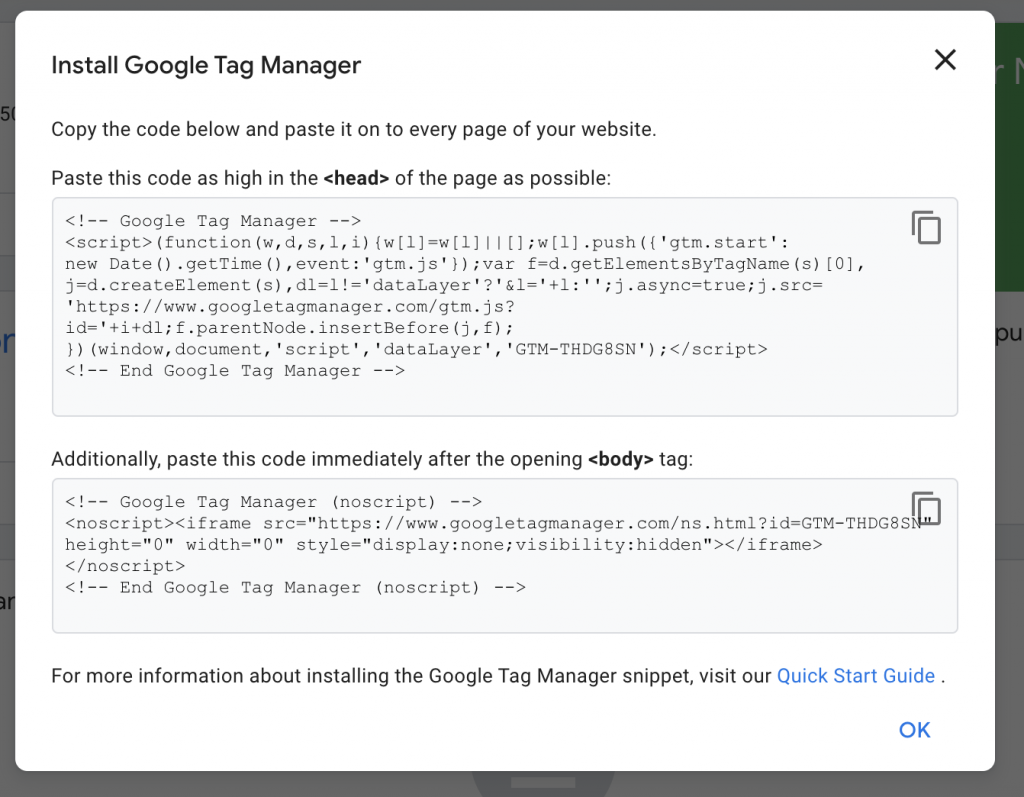
Once you’ve created your account and first container, you’ll see a screen like this, that contains all of your tag code:
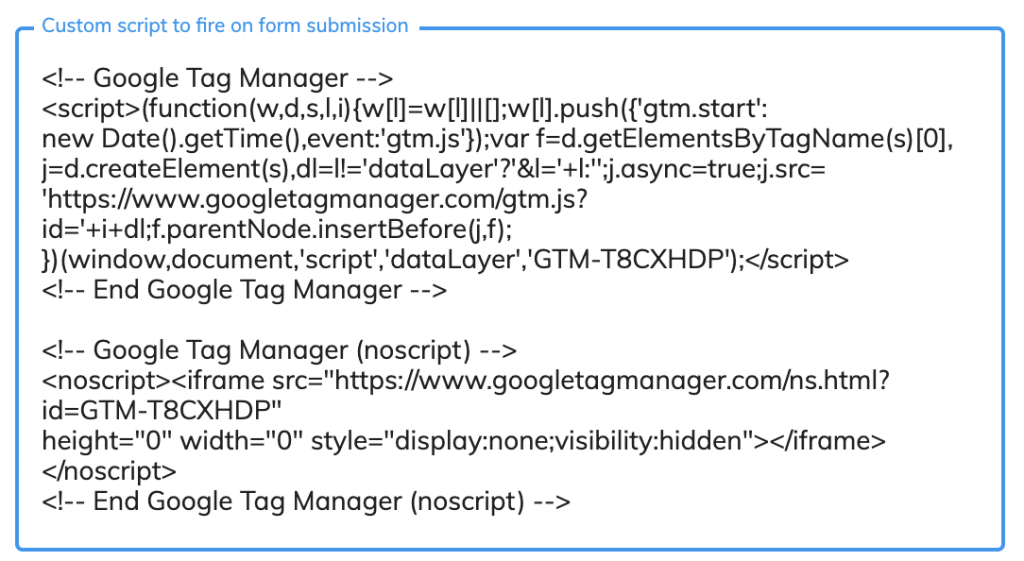
In a new tab, open your form settings (click “Edit form settings” in the top blue toolbar, while editing a form).
Then, find the “Custom script to fire on form submission” box and paste both of Google’s tags from this step into the box, like so –
When you’re done, hit “Save form settings”.
Congratulations – you’ve created a Google Tag Manager container, and added it to Growform’s “thank you” page!
Nothing will happen at this point – you’ll next need to add a tag, and configure that tag to fire on form submission.
We’ll do that in the next guide…
Need to track something more clever? Our support team are more than happy to help with custom tracking enquiries – talk to us on live chat!