How To Build Webflow Multi-Step Forms (+ Clonable Templates and Designs)
Quick Summary
This guide shows you how to create high-converting Webflow multi-step forms using Growform. Since Webflow doesn’t support multi-step forms natively, Growform offers a seamless alternative with templates and advanced features. It’s crucial for improving user experience and conversions. Follow our step-by-step process and explore more tips, examples, and best practices on the Growform blog.
Getting Started with Multi-Step Forms in Webflow
Creating sleek, high-converting multi-step forms in Webflow can be a challenge, especially if you’re relying on its native form capabilities. While Webflow is excellent for visually stunning landing pages, it lacks built-in tools for advanced multi-step forms without diving into complex custom code.
In this Growform guide, we’ll show you how to build Webflow multi-step formsWhether you’re a Webflow beginner or a seasoned designer, this guide will help you deliver better user experiences and gather higher-quality leads.
Why Listen to Us?
At Growform, we specialize in creating high-performing multi-step forms that are easy to build, beautifully designed, and optimized for conversions. We’ve helped businesses, from startups to large agencies, improve their lead generation with smart, user-friendly form experiences.
Our platform was built specifically to solve the challenges of creating multi-step forms in tools like Webflow without needing complex code or development resources. With years of hands-on experience and thousands of forms built using Growform, we know what works and we’re here to help you get it right the first time.
What Is a Webflow Multi-Step Form?
A Webflow multi-step form is a web form built within the Webflow platform that breaks down questions or input fields into multiple “steps” or pages, rather than showing everything at once. This design helps guide users through the form in smaller, manageable chunks, improving user experience and often increasing conversion rates.
Reasons to use a Webflow multi-step form includes:
- Reduces cognitive load: Users aren’t overwhelmed with too many fields at once.
- Feels more interactive: It mimics a conversation-like flow, which keeps users engaged.
- Increases completion rates: By showing progress indicators and focusing on one task at a time, users are more likely to finish the form.
Webflow’s Native Limitations
While Webflow is an excellent platform for designing modern, responsive websites, its form builder does not support multi-step forms natively. If you want to create a true multi-step experience, you’ll need to rely on custom development and workarounds, including:
- Custom code: JavaScript and CSS are required to create step transitions and control the flow.
- Form validation workarounds: Validating fields between steps adds technical complexity that Webflow doesn’t handle out of the box.
- Manual show/hide logic: You need to manually design and script which fields or sections to display on each step, which can be error-prone.
Because of these challenges, many designers and marketers look for easier, no-code alternatives that allow them to build multi-step forms without touching a line of code.
Growform: A Better Alternative
For Webflow users who want to create sleek, high-performing multi-step forms without diving into complex code, Growform is a smart, no-code solution that integrates smoothly into any Webflow project.
Here’s why it stands out:
- Visual Form Building: Design your form with a clean drag-and-drop interface, no JavaScript or CSS required.
- Simple Embedding: Just copy your form’s embed code and drop it into Webflow using the native <embed> component.
- Fully Responsive: Your form will look great on mobile, tablet, and desktop automatically.
- Flexible Styling Options: Use Growform’s theme settings to align fonts, colors, and button styles with your Webflow site.
- Built-In Smart Features: Create conditional logic flows, multi-page layouts, and dynamic thank-you screens without any plugins.
- Seamless Integrations: Easily send leads to tools like HubSpot, Mailchimp, Google Sheets, or any CRM via native integrations or Zapier.
A client once said;
“When we switched to a more advanced multi-step form solution, we saw an immediate uplift in our conversion rates—double or even triple in some cases. Our cost per lead improved significantly, and the system has been rock-solid from day one.”
— Eugen Bachir, Head of Performance at BeMarketable
Whether you’re building for SaaS, B2B, real estate, or lead-gen campaigns, Growform gives you the flexibility and polish your Webflow forms need, without sacrificing ease of use.
Step-by-Step Guide to Adding Growform Multi-Step Forms to Webflow
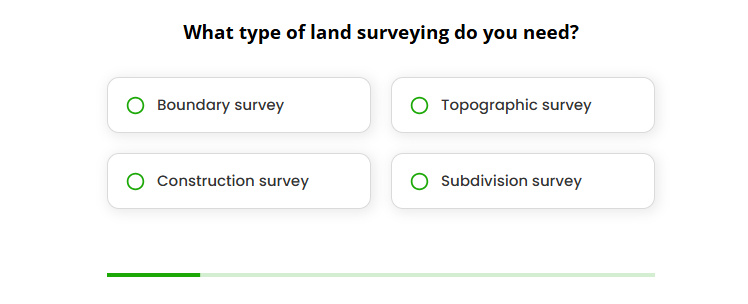
1 – Create a form on Growform
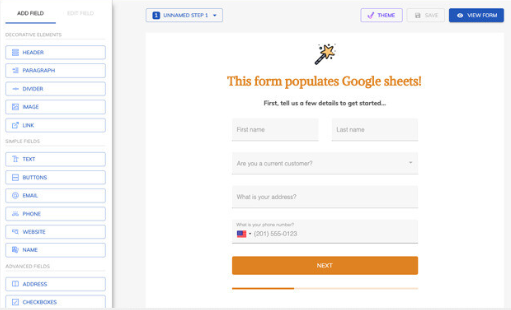
First off, create a new form in Growform. You can snag a 14 day free trial that doesn’t need a credit card – get started here.
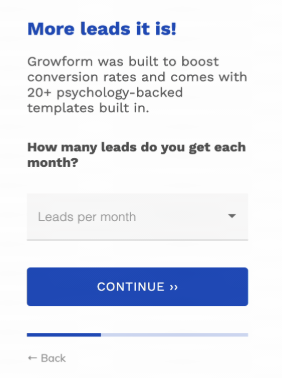
The first step will look like this:
Follow our getting started guide if you need a helping hand with your first form.
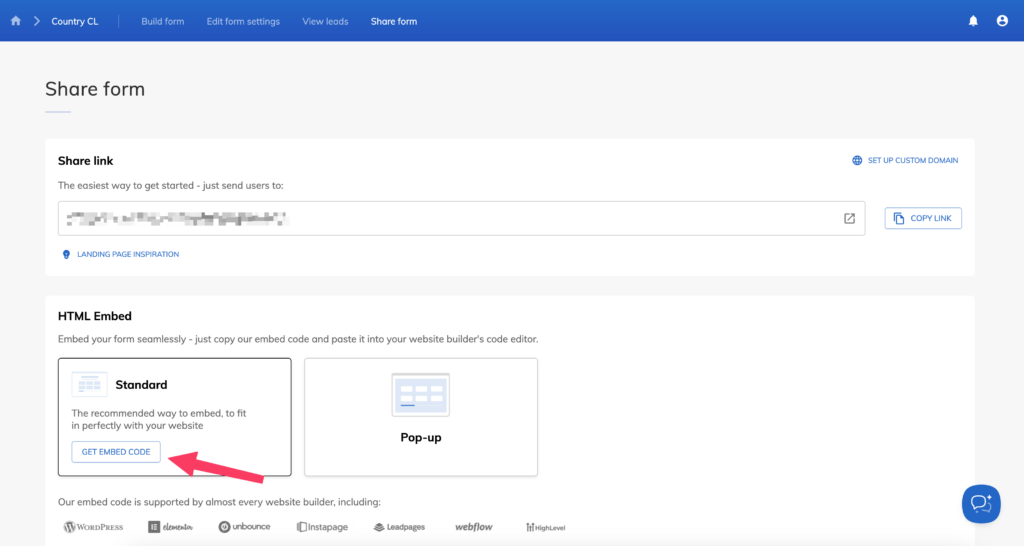
2 – Get your Growform share code
Once your form is created, get your share code by clicking the “share form” menu item in Growform’s top navigation.
Choose the standard option – hit “Get embed code”, and then hit the “Copy embed code” button:
3 – Add an “Embed” component to your Webflow page
Now, open up your landing page in Webflow and delete any forms you might have already created – we’ll be replacing them with our shiny new multi-step form
Next, find the “Code embed” component on the left-hand side. It looks like a pair of code brackets with a backslash in ( </> ).

You’ll need to do a fair bit of scrolling to find it – at time of writing, it’s toward the very end of the list under “Components”.
Once you find the “Embed” component, drag it to the place you want it to be on your page.
Paste the Growform share code into this box.
It’s really simple – here’s a gif of the whole process:
Hit “Publish” to complete this step.
4 – Make some cosmetic adjustments to your form
Once you’ve added your form and published your page, you’ll probably see something like this on your live Webflow domain (depending on the form template you chose):
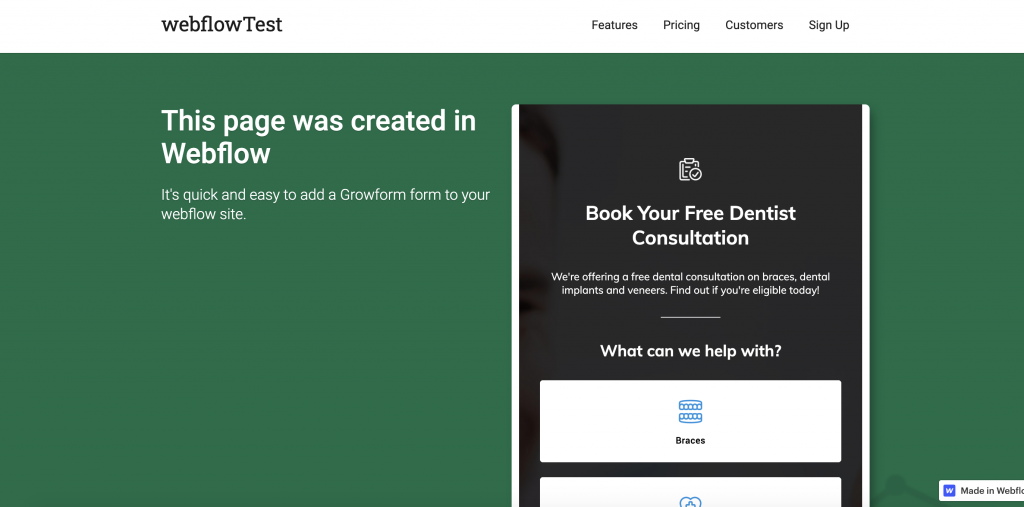
Here are some adjustments you may wish to make to get your Webflow multi step form looking perfect:
- In Growform’s “Theme” settings, choose Minimal under canvas setup – this option removes the header and surrounding padding.
- Once you’ve chosen canvas setup, set the canvas background color to match the background color in Unbounce, or choose “None” to make it transparent.
- Remove any headers, instructions or logos at the top of your Growform form – you can always have these in Unbounce.
- Set “Show shadows” to “None” – these work best on white backgrounds only.
- Adjust your form’s primary color (which affects progress bars and accents), as well as the range of other colour settings.
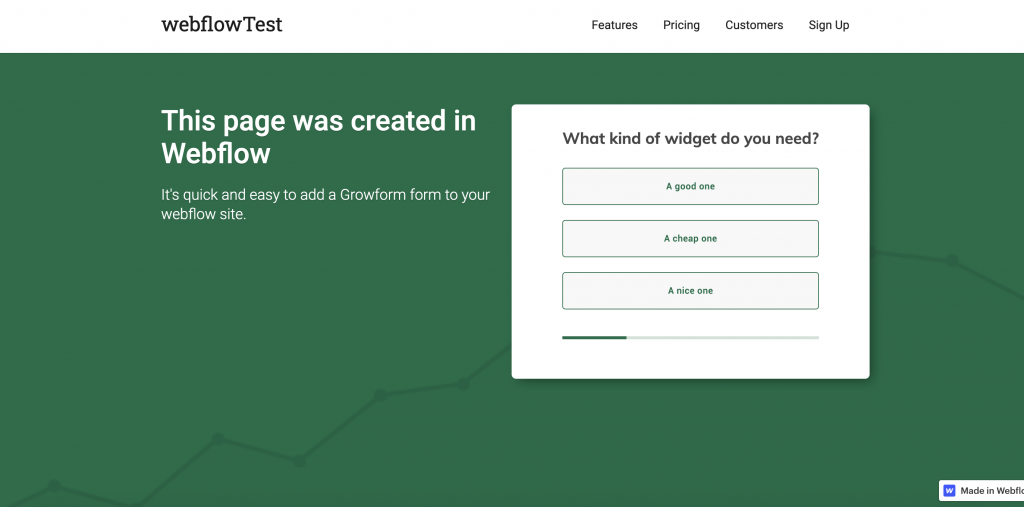
With just 2-3 minutes adjusting theme settings, we can get it to look like a really nice Webflow multi step form, completely sympathetic to the design of the rest of the page:
5 – Send your leads somewhere!
Now we have our Webflow multi step form all set up, where do the leads go?
The leads will appear in your Growform account, and will be emailed to you by default. You can also use Zapier to send your leads to one of hundreds of destinations.
There’s therefore no need to configure anything more in your Webflow account – anything to do with your leads will now be handled by Growform.
Best Practices for Adding a Growform Multi-Step Form to Webflow
1. Prioritize a Smooth User Experience
- Keep It Short & Focused: Break down long forms into bite-sized steps with only 1-2 fields per page to keep users engaged.
- Use Clear Progress Indicators: A progress bar reassures users how far along they are, reducing abandonment rates.
- Optimize Field Labels & Instructions: Keep field labels concise and use placeholder text to guide users without cluttering the form.
- Minimize Required Fields: Only ask for essential information to reduce friction and encourage completion.
2. Design for Seamless Webflow Integration
- Match Webflow’s Branding: Use Growform’s Theme settings to align colors, fonts, and button styles with your Webflow site.
- Remove Unnecessary Headers: If Webflow already has a title or description above the form, remove duplicate headers in Growform for a cleaner look.
- Optimize Button Styling: Ensure button sizes and colors are consistent with other CTAs on your Webflow site.
3. Ensure Mobile Optimization
- Test on Multiple Devices: Check how the form appears on different screen sizes to ensure responsiveness.
- Adjust Padding & Spacing: Use Growform’s layout settings to refine spacing for mobile-friendly form elements.
- Keep Text Legible: Make sure form text and buttons are large enough for easy tapping on mobile screens.
4. Improve Conversion Rates with Smart Form Elements
- Use Conditional Logic: Show/hide fields based on user inputs to keep forms relevant and personalized.

- Enable Auto-Save or Partial Submissions: Allow users to return later to reduce drop-offs.
- Experiment with Multi-Step Layouts: Try variations like a welcome page or incentive-based first step (e.g., “Get a Free Quote”) to increase engagement.
5. Optimize for Lead Management & Tracking
- Integrate with CRM & Email Tools: Use Zapier to automatically send leads to HubSpot, Mailchimp, or Google Sheets.
- Enable Email Notifications: Ensure your team gets real-time alerts when a new lead submits a form.
- Use UTM Tracking: Add UTM parameters to Growform to track which traffic sources generate the most conversions.
6. Test & Iterate for Maximum Impact
- A/B Test Form Variations: Try different form lengths, CTA wording, or step sequences to see what performs best.
- Monitor Drop-Off Rates: Use Growform analytics to identify where users are abandoning the form and adjust accordingly.
- Refine Based on Feedback: Ask visitors or customers for feedback on the form’s ease of use and make improvements as needed.
Better Forms, No Code Required
Building multi-step forms in Webflow doesn’t have to mean wrestling with custom code or relying on awkward workarounds. While Webflow’s native tools are powerful for design, they fall short when it comes to creating advanced, high-converting forms that guide users step-by-step.
That’s where Growform comes in. With an intuitive interface, seamless Webflow embedding, and features like conditional logic, mobile responsiveness, and CRM integrations, Growform takes care of the complexity, so you can focus on conversion and user experience.
Growform makes it easy to launch forms that look great and work perfectly in Webflow.
Ready to build a better multi-step form? Start your free 14-day Growform trial and see the difference for yourself.
Need more? We’re actively working on our Webflow offering.
Please get in touch with our experienced support team if we can help with anything, including helping to configure your account.